Showing posts with label Christmas. Show all posts

Friday, 26 December 2014

Christmas Wreath


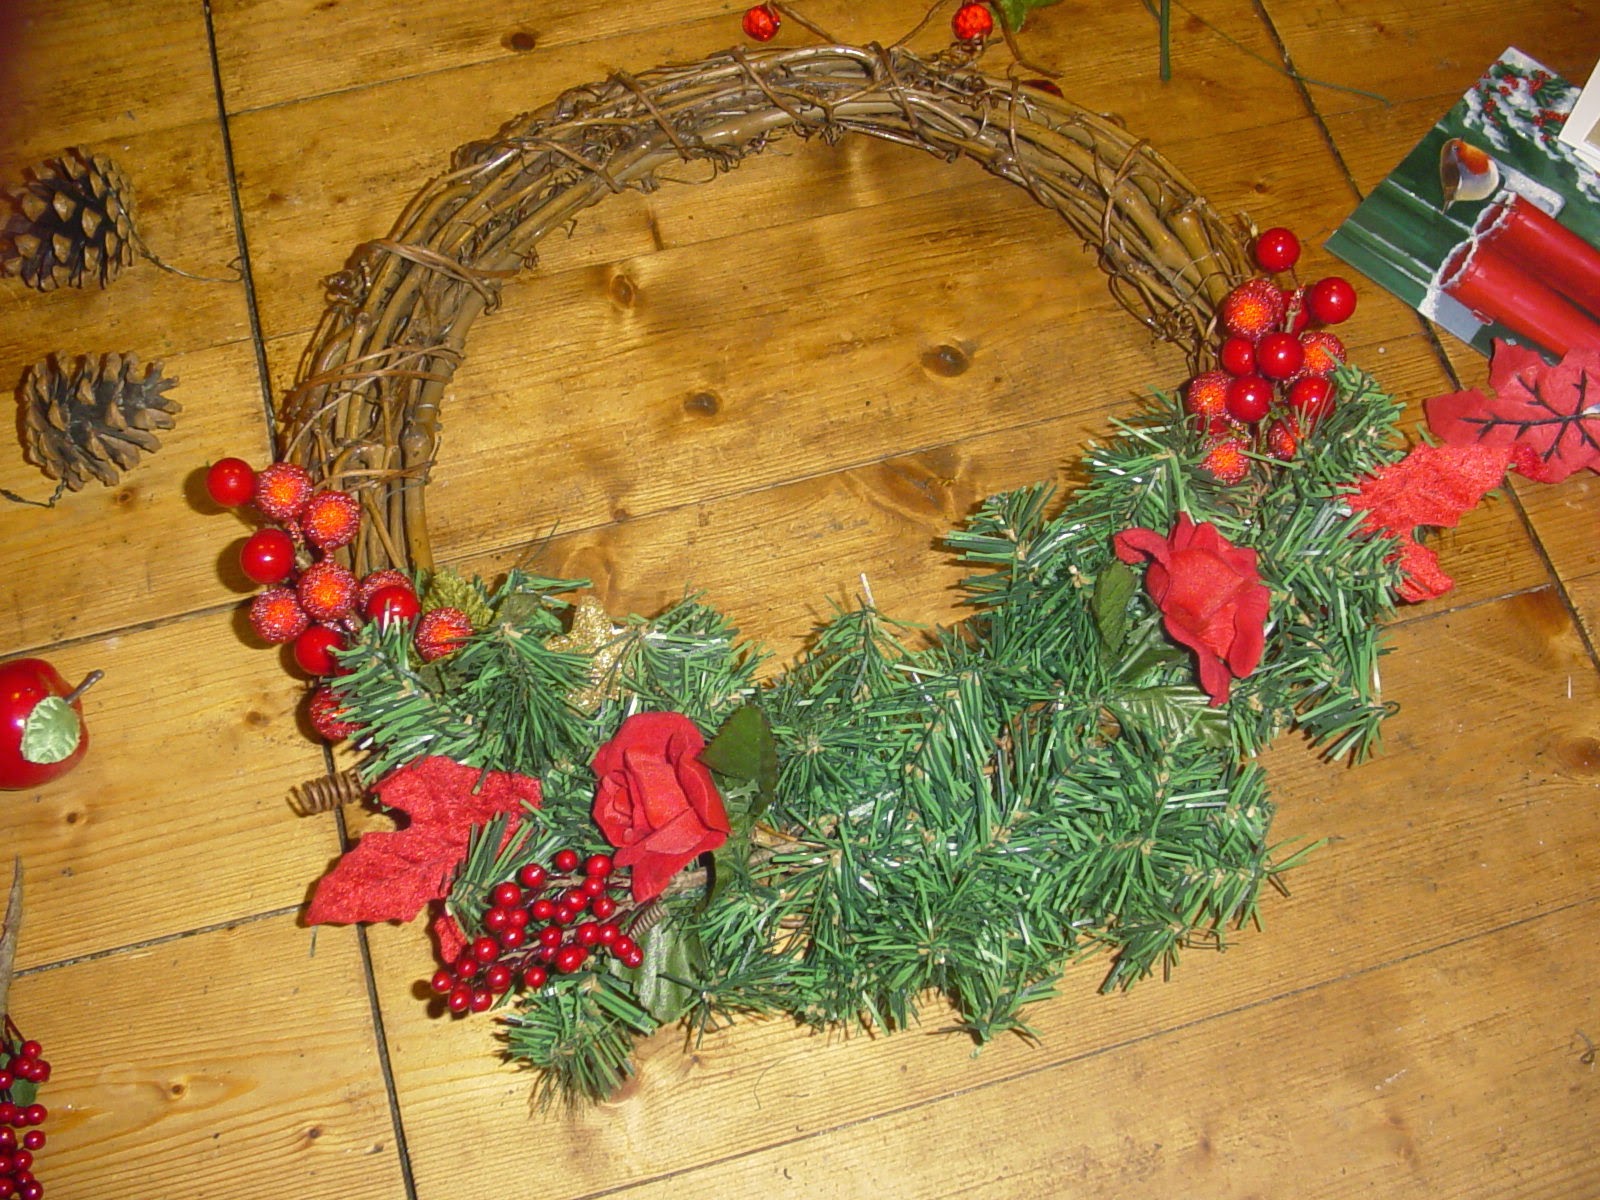
I just can't seem to get enough Christmas decorations! This year I've added a new wreath over the fireplace. It needed to match the swag on the fireplace, so it's red, green and gold. 


I started with a plain wicker wreath and wrapped a piece of fake greenery around the bottom. 


Then I simply added Christmas trimmings, tying them in as I went. 


Over the last years I have collected the odd bit of Christmas trimmings - plenty left for next year! 


Finished wreath!


Origami Christmas


I needed an idea for last minute Christmas cards for the kids and my Mum. Origami was a new way to go. I did end up spending some time practising before I settled on a couple of designs which I thought I could make with small squares of paper.  I used 9cm squares of paper for the santas and a 12cm square of paper for the dove. I used Christmas printed paper - looks nice but hard to fold especially when small.


The kids thought they were really cute! There are lots of websites for Christmas origami but the ones I eventually used were:

http://www.origami-make.com/howto-origami-bird.php
http://www.origami-resource-center.com/santa.html


I also wanted an idea for an attractive way to give my eldest daughter some money. Again lots of websites filled with plenty of original ideas but we used this one because you can make them using any notes (so long they are all the same).

 Also, many of the ideas use dollar bills - so use lots of notes! We made an origami star out of our British banknotes and presented in a CD case.


To top off our origami Christmas, we folded cloth napkins to make Christmas trees for our Christmas lunch. 


http://www.handimania.com/diy/christmas-tree-napkin-fold-all-steps.html


Sunday, 21 December 2014

Mini Christmas Quilts


 This week, I decided to make some Christmas mini-quilt gifts for friends.


I started by drawing out a word filled Christmas tree design which I transferred to material. I stitched the tree and star design using 'outline stitch' (maybe not as neat as it should be looks effective). 

I use a great stitching reference site called http://www.embroidery.rocksea.org/
I thought the satin pot would be hard to appliqué so I ironed that on.


I used a selection of Christmas materials to build up the simple quilt block. I chose a neutral fabric for the backing. Once I had sandwiched the three materials (front, wadding, backing) together I hand quilted around the Christmas tree but machine quilted the rest. A hand stitched red bias binding finished the mini-quilts along with a piece of ribbon for hanging.

I was really pleased with these. They looked nice when all placed together. Next project - make a full size Christmas quilt or use this idea to make some cushion covers!!


Thursday, 30 October 2014

Zentangles


This week I made some very early Christmas cards with the children in year 5/6. "Why so early?" I hear you ask. Well, we send them off to be printed and made into packs of four that parents are then asked to buy, as a means of fundraising.


So, I read up a bit on zentangling. Turns out it's not just doodling. Zentangles are made of abstract, repetitive patterns and traditionally black and white. They are also meant to be meditative and unplanned. So our aim was to have a very chilled art session - result!


The method is fairly simple. First draw your basic shape. Then add some lightly drawn pencil lines called 'strings' to give some form. Next ink in the strings. Now you can start creating 'tangles' in the spaces.   


Although zentangles are meant to be unplanned and hand drawn, I did prep some stencils for the children and provided some example sheets. 


I think they did a fantastic job!


Anyway I shall be off now to do a bit of my own zentangling!

Saturday, 14 December 2013

Lemon Sugar Scrub

Vanilla scrub in middle, lemon on both sides
Last year, for my daughters teenage friends, we put a hot chocolate recipe in small jars and attached a candy cane 'a la snowman soup'. This year she thought we could try body scrubs. So, today we used a recipe I'd pinned onto my pinterest board and made both vanilla and lemon sugar scrubs. 

          Lemon Sugar Scrub         

          What you will need: 2 1/2 cups of white sugar, 1 cup of olive oil, 4 TBS of Lemon juice, 
          containers

          Vanilla Brown Sugar Scrub


          What you will need: 1 cup white sugar, 1 cup brown sugar, 1/2 cup-3/4 cups olive oil
          1-2 tsp of vanilla (your preference)


Basic ingredients are all combined together in a bowl and then packed into individual jars. They both work really well but we felt the vanilla recipe needed more essence and the lemon recipe turned out very wet. We just add more essence and sugar to try to get a not too dry, not too wet consistency. 


For a few of her friends we've used the body scrub as part of a pamper box. 

Wednesday, 11 December 2013

Reindeer Bag


I've been thinking about something for the children in yr3 / 4 to make at school to take home this Christmas. They'll have a Christmas card and a calendar but I just wanted to something else kind of cute to make. 


Here's my idea. 


I had a lot of candy canes leftover from a Christmas fair we've already done and wanted to use them up. So, I've used the candy canes to become Rudolph antlers on a brown paper bag. First I folded the bag in half and made a crease. I made two small nicks on the crease and then opened the bag back up. The candy canes are pushed through the holes and taped to the inside of the bag. To finish, I've added ears, nose, mouth and eyes for Rudolph.


Well, you could stop there and fill the bag with whatever you like. However, I decided I could fill the bag with some other typical seasonal ideas that the kids could make at school and add some things at little cost to make it a bag of festive cheer. My contents were:


1) Reindeer food (found on tinternet)
2) Paper for snowflakes 

....both of which children can make as a class activity.

3) Button for a snowman
4) Chocolate coin for them
5) Wooden decoration....that we had left over from last Christmas.


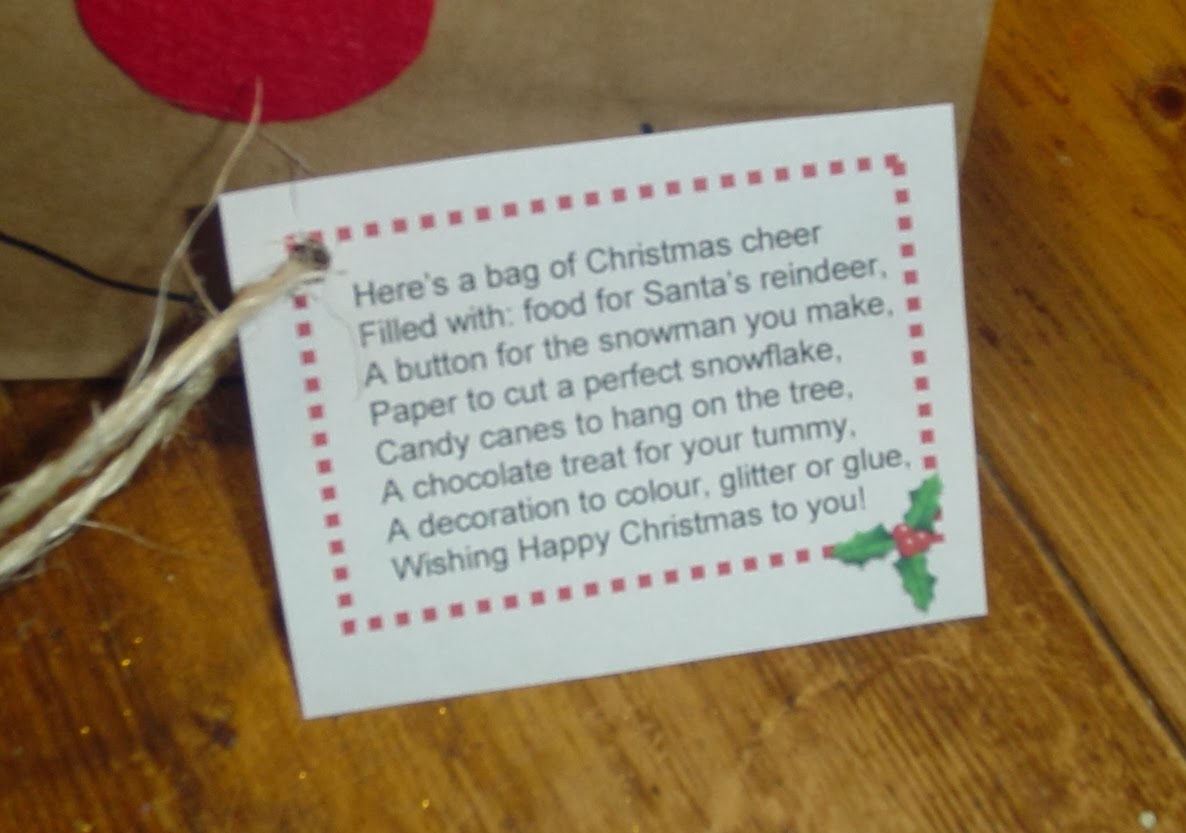
To pull it altogether I made up a poem to hang on the outside - this was actually the hardest part, taking me ages to make the rhyme work. Here it is......


**Update - here are the ones we made in class, some look more like reindeer than others!


Friday, 6 December 2013

Sock Snowmen


Having previously made sock rabbits, I decided to have a go at sock snowmen. 

You'll need a plain white sock, a baby sock, twine, stuffing and decorations like buttons.


Unlike sock rabbits, not too much sewing involved in a sock snowman.  I've stuffed the bottom of a white sock with leftover foam stuffing. You could use other kinds of stuffing or all rice. Then I twisted the sock and forced it back over itself. At this point you can put in a few stitches to secure at the bottom. 


After a bit of experimentation I found that adding a layer of rice before I turned the sock on itself helped the snowman to stand up later. 


I stuffed the rest of the white sock until I felt it looked tall enough and was able to knot the sock (see photo below). At this point you could trim the knotted end with scissors or just fold the sock over the knot.


The baby sock is used to make a jumper and a hat. Cut off the heel and the toe of the sock and then cut the sock into two pieces. Simply slip the bottom half of the sock over the snowman and tie into place with string or thread, pulling it tight enough to create a snowman shape. The top of the sock (with the cuff) will become a hat. Number of different ways to do this. You could just knot the end of the sock or tie it together with string or thread. However, I have cut a small strip of sock off the end without the cuff, cut some slits part way down from the un-cuffed end and lastly tied the small strip of sock where the fringes end.


To finish your snowmen off you can stitch or glue on eyes and carrot noses, add trimmings and buttons - it's up to you.

Here he is with some friends!

Since the 40days project we've made more sock rabbits, including ballet bunnies. Have a look...... 


These were our original sock rabbits - tutorial on 40daysofcrafts.blogspot.uk.


Tuesday, 3 December 2013

Wreaths and Candles

This week the Scout group my husband helps to lead, made things to sell at their church's Christmas Fair. I usually offer some creative input. In fact, after Christmas 2012 I bought a number of things in the Tesco 10p sale, including wreaths and packs of decorations, which came in handy. I had stacks of glittered leaves that I needed to find a use for. I bought some extra decorations, beading, snow spray and stems of fake flowers from the £1 shops. The only relatively expensive items were the candles.

So, all these items.........


.


..........became this!


 These bits and pieces.............................................................became this!


I made candle holders from tin foil, which we pushed the decorations into, using a cocktail stick to make holes. 

So these.......................................................................................became this!


Monday, 2 December 2013

Personalised Baubles

My first personalised bauble.
Well, Christmas is now truly underway! I've offered to make personalised baubles to raise funds for the school PTA. So far I've had twenty-seven orders - I've done about thirteen. 


          What you will need: baubles, slick (tulip) fabric pens, ribbon


I'm writing the desired name(s) on the baubles with slick fabric pens which give a 3D finish, adding dots and snowflakes and finishing them off with a few strips of matching ribbon.

The idea is that when I send them into school, the baubles will be placed on the school Christmas tree for other children to see (and perhaps ask their parents to order them one!). The baubles can then be picked up by parents at the school Christmas fair or at the end term.


How about a bauble for your favourite football team?


Here are some of the baubles I've taken in to school.