Friday, 26 December 2014

Christmas Wreath


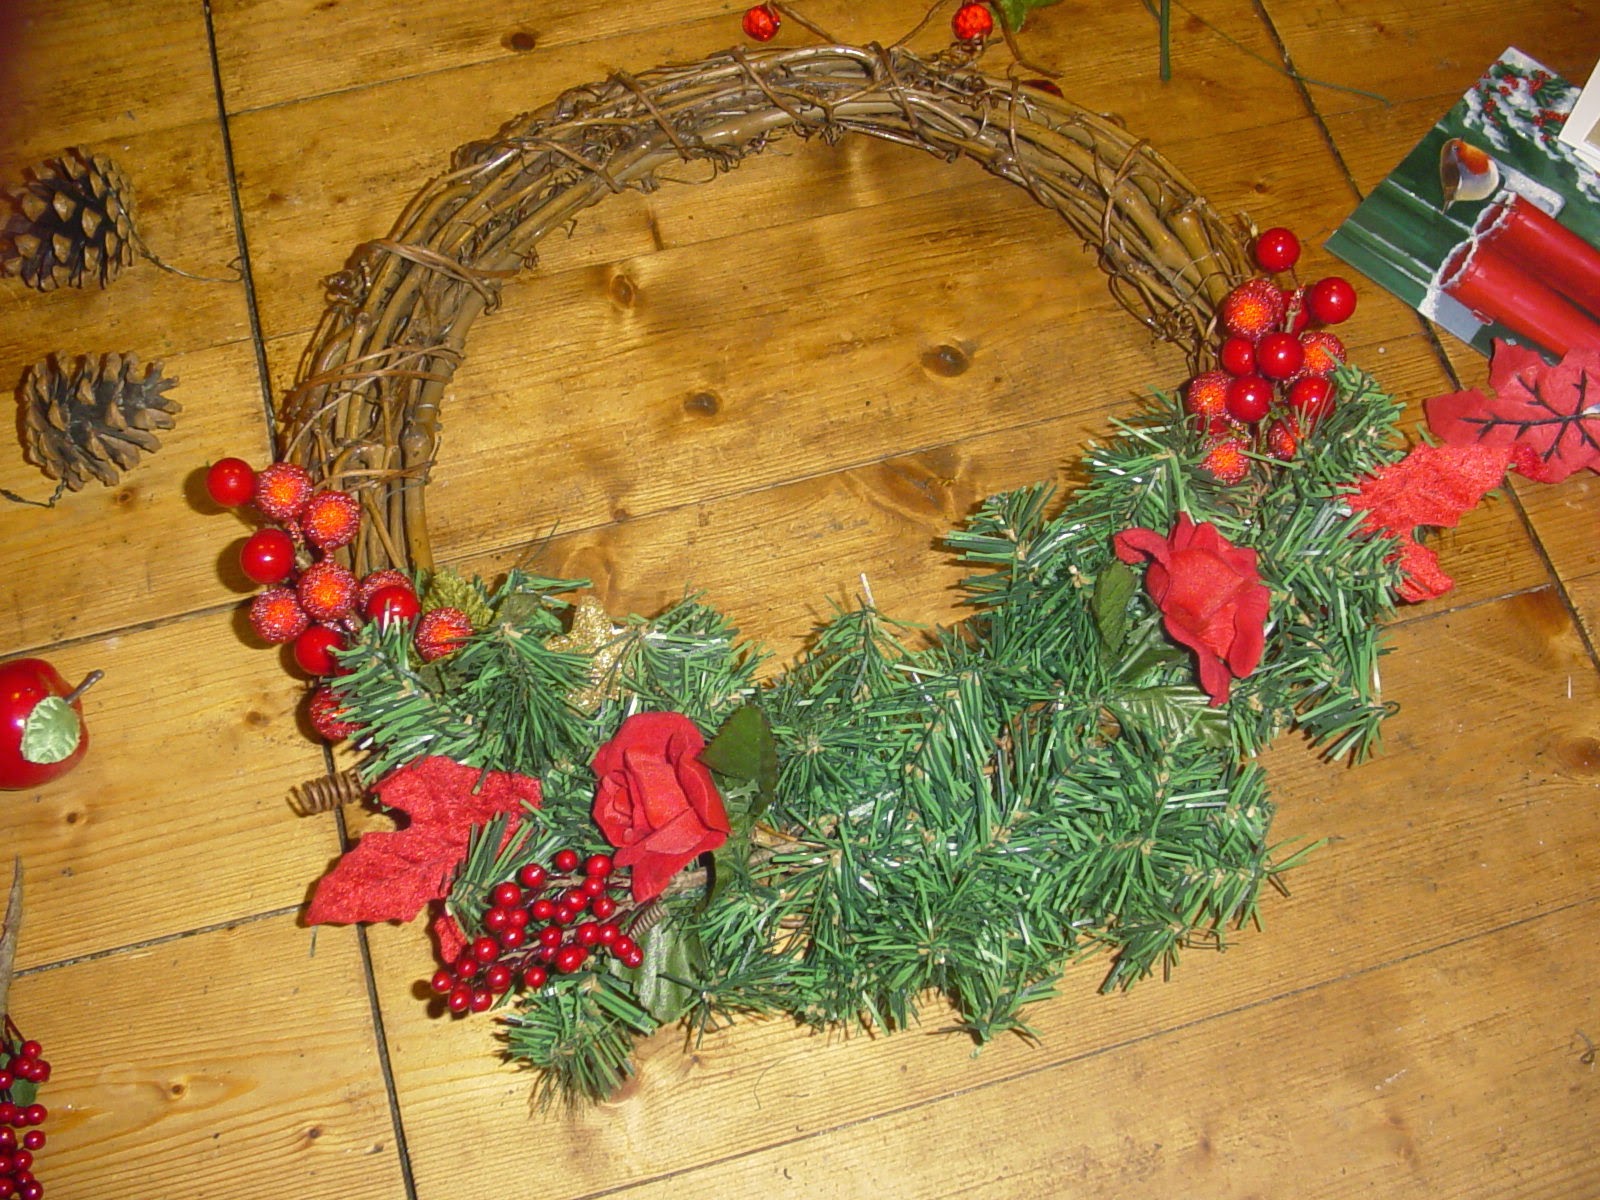
I just can't seem to get enough Christmas decorations! This year I've added a new wreath over the fireplace. It needed to match the swag on the fireplace, so it's red, green and gold. 


I started with a plain wicker wreath and wrapped a piece of fake greenery around the bottom. 


Then I simply added Christmas trimmings, tying them in as I went. 


Over the last years I have collected the odd bit of Christmas trimmings - plenty left for next year! 


Finished wreath!


Origami Christmas


I needed an idea for last minute Christmas cards for the kids and my Mum. Origami was a new way to go. I did end up spending some time practising before I settled on a couple of designs which I thought I could make with small squares of paper.  I used 9cm squares of paper for the santas and a 12cm square of paper for the dove. I used Christmas printed paper - looks nice but hard to fold especially when small.


The kids thought they were really cute! There are lots of websites for Christmas origami but the ones I eventually used were:

http://www.origami-make.com/howto-origami-bird.php
http://www.origami-resource-center.com/santa.html


I also wanted an idea for an attractive way to give my eldest daughter some money. Again lots of websites filled with plenty of original ideas but we used this one because you can make them using any notes (so long they are all the same).

 Also, many of the ideas use dollar bills - so use lots of notes! We made an origami star out of our British banknotes and presented in a CD case.


To top off our origami Christmas, we folded cloth napkins to make Christmas trees for our Christmas lunch. 


http://www.handimania.com/diy/christmas-tree-napkin-fold-all-steps.html


Sunday, 21 December 2014

Anniversary Gift


This year was our 20th wedding anniversary. Traditionally, it stands for china but we didn't need ornaments or dining sets and a trip to China was likely out of the question so....inspired by Pinterest I made a photo gift.


The general idea was to take pictures of the children in positions forming the numbers of our wedding date - 3.9.14.  We tried several ideas but eventually settled on photos where the children made the numbers with their bodies. The trickiest to film was my son on the trampoline - I had take the photo before he actually jumped in order to catch the number he made.


After I'd put the photos onto the computer I changed them to tasteful black and white. Still not sure though if I prefer them in the original colours, will probably print them out one day to compare.


For your information, my husband found me some china-themed gifts including green tea from China and the 80's film 'Big trouble in Little China'!


Mini Christmas Quilts


 This week, I decided to make some Christmas mini-quilt gifts for friends.


I started by drawing out a word filled Christmas tree design which I transferred to material. I stitched the tree and star design using 'outline stitch' (maybe not as neat as it should be looks effective). 

I use a great stitching reference site called http://www.embroidery.rocksea.org/
I thought the satin pot would be hard to appliqué so I ironed that on.


I used a selection of Christmas materials to build up the simple quilt block. I chose a neutral fabric for the backing. Once I had sandwiched the three materials (front, wadding, backing) together I hand quilted around the Christmas tree but machine quilted the rest. A hand stitched red bias binding finished the mini-quilts along with a piece of ribbon for hanging.

I was really pleased with these. They looked nice when all placed together. Next project - make a full size Christmas quilt or use this idea to make some cushion covers!!


Poppy Brooch


This year I've made my own poppy brooch for Remembrance Day. I started by cutting rounds from red chiffon. My rounds were 4-5cm approx (didn't measure as usual!). 


Note - a tea light is easier to use than a candle!


The trick then is to lightly singe all around the edges of each round by holding it over a flame - mind your fingers!. This causes the rounds to maybe crinkle a little and curl up, giving them a more petal-like shape. It may need a bit of practise.


Once you have the petals, simply lay them on top of each other until you have the right shape. My poppies have about 8 petals each. I then secured them together with a few stitches in the middle.


As I was making a poppy I stitched a large black button into the middle and also wrapped and stitched in some black, fluffy wool around the button for more effect. However, they would probably be just as effective without the extra wool.


I also added green leaves using the same flame technique for the petals but starting with a leaf shape. I had several goes at this as I kept melting off parts of the leaf!


To finish I glued a circle of felt, with two small slits in the centre to the back and attached a safety pin through the slits. This was ok for me - but you can use other ways to make it more secure.


You can use this technique to make different coloured flowers - I've decorated my daughter's prom dress with ivory ones and used beads in the centres instead.