Wednesday, 18 February 2015

Cushion Cover


Just before Christmas, I made up a simple cushion for a friend, to give to her as a surprise Christmas gift. However, when I'd finished I measured the cover against the cushion I had bought - and it was far too small! I don't know where I went wrong and though I could probably have just bought some smaller cushions, I decided instead to make them bigger using the remaining matching material.


The original cushion was a simple flap over fastening - no zips - held with a couple of buttons.  I kept the fastening 'as was', deciding not to make my alteration any harder.  I decided to unpick the original cushion and then add on 2 inch strips all the way round back and front of the original cushion. I even overstitched the edges as the material tended to fray! Yes it was a bit more 'faffing' about!


Once I had two new improved cushion sides, I matched up back and front (back to back) using pins to hold the sides together in the right places - at the corners - while I stitched the sides together.


Overall I was really pleased with the finished cushion (I actually made two) - and I decided not to tell my friend about my original mistake - of course if she ever reads this..........!


Native American Costume


This week at school our class had a Native American Day as part of our Road Trip USA theme. We had a fantastic day which included making headdresses, building teepees, learning to sing Native American camp songs and having a Native American banquet. 

Of course it also meant I needed a Native American costume.
We decided to keep our costumes fairly simple - tan coloured top and black trousers would do (we would be outside building teepees for some time - in February!).

I acquired my basic t-shirt from my husband - obviously offering to buy him a new one! I started by cutting the sleeves into strips and pulled each strip to make them more cord like. 


For embellishment I used some recycled fringing (possibly from furniture) that I had picked up at a local recycling centre called SAMS, where school have an account. I hand-stitched the fringing around the bottom and around the neckline - would have been far quicker to do it on the machine though. To finish I found some plastic beads that I hand-sewed onto the fringing. Teemed the top with a leather belt I already had and voilĂ ! 


Take a look at our terrific Totem poles too. We've been making them over the last few weeks in art and they took pride of place in our Native American camp. The banquet was also the pick of foods the children had cooked and tasted over the past few weeks. It included Native American bread, soup, tortillas and cake! Hopefully recipes to follow.


Knitted Fingerless Gloves


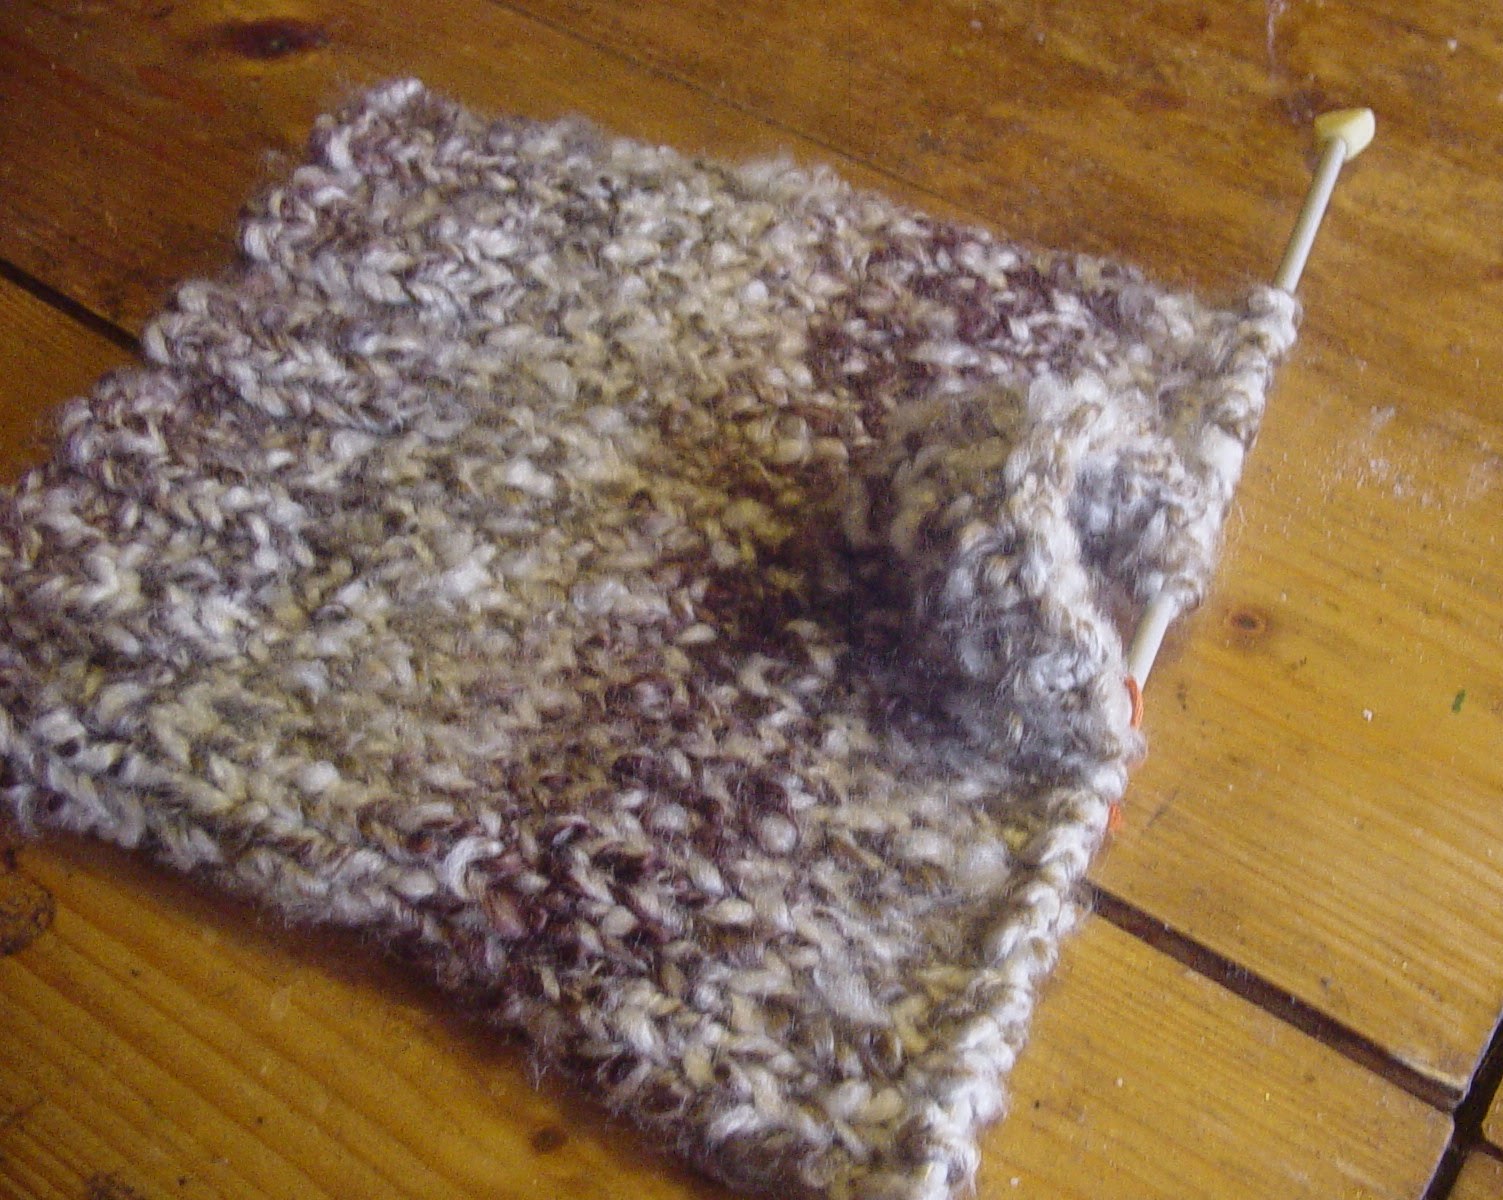
Well, here comes post three this week! I finally got around to making the gloves that the wool I used for the phone sock owl, was originally intended for.

Lots of websites have fingerless glove patterns, working in the round (using three/four needles), but I've never done that so was thrilled when I came across one using just two needles. It does mean there will be a seam up the side but I think with the wool I'm using it won't be too obvious. 

I've used a chunky twist wool which means I had to adapt the pattern that I had originally found. So here goes.....


Cast on 24.

K2, P2 for 10 rows - gives ribbing effect if casting on a multiple of 4.


Knit row, purl row for 16 rows, ending on a purl row.
To make the thumb hole:
K11, place marker, K2, place marker, K11
(For marker I made a small loop of thread by wrapping it and knotting around a pencil.)


Then...purl row.
K11 slip marker over, increase 1 stitch through back of stitch, increase 1 stitch through back of stitch, slip marker over (I now have 26 stitches).
Purl row.
K11, slip marker over, increase stitch, K1, K1, increase stitch, K11 (making 28 stitches).
Purl row
Continue to increase one stitch after the first marker and one stitch before the second marker on each knit row, with purl rows between, until there are 10 or 12 stitches (depending on thumb size required) between the markers. Finish on a knit row.


Cast off the thumb.
Purl to the first marker, cast off 12 stitches, purl to end - removing markers!
Knit 10, til there is one stitch before the casted off thumb. Knit into the back of the stitch on the LH needle (without slipping it off) and then knit the last stitch on the RH needle. this twists the wool making a stronger stitch but is a little fiddly. Knit to end. 


At this point I found I had 22 stitches and not back to my original 24! Maybe because two of the original 24 were the starting point for the thumb. Anyway there were no holes so I carried on.
Purl the next row.
At this point it depends how large your hands are and how far up you want the gloves to finish.
I did 1 more knit row and 1 more purl row, before going back to the rib pattern for another 8 rows.
**As I now had 22 stitches, which is not a multiple of four, the pattern for the ribbing had to become first row K2, P2 to end on K2, then second row P2, K2 to end on P2 - otherwise you lose the rib pattern. 


To finish, I turned them inside out and sewed up the side seam.


Here are the finished gloves as modelled by teen daughter.
Apparently they are extremely warm and have gone done as quite cool with her friends!